Clinic Photography Tips: How to Take Professional Photos for Healthcare Marketing
The right photography tips can help anyone take polished clinic photos that feel professional, no studio required. For small clinics and therapy practices, images do more than brighten a website, they’re often a patient’s very first impression. And those impressions form fast: studies show it takes just 0.05 seconds [1] for someone to judge a website’s visuals.
Another study from the University of Missouri showed users’ eyes need only 2.6 seconds [2] to settle on the parts of a page that shape their opinion.
In healthcare marketing, great photos work harder than you might think. Stock photography is okay to fall back on, but custom, branded photography can set your practice apart. Your own images bring authenticity to your site, tell your story, and often perform better in building trust and engagement online. Put simply, thoughtful clinic photo ideas aren’t just about aesthetics — they’re a practical way to market a health and wellness practice and help shape the first impression patients have of your clinic.
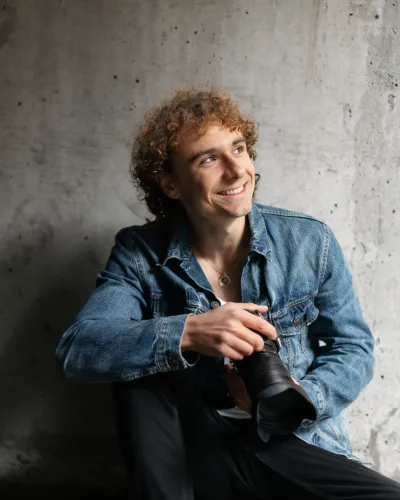
To help you take photos that work as hard as you do, we asked award-winning Vancouver-based photographer Ian Harland [3] to share his practical photography tips for beginners. In this guide, Ian covers planning, staging, lighting tips, color choices, camera position, and how action shots can help people look more natural in photos. His advice will help you capture unique branded photography that turn everyday spaces into versatile marketing assets.

Ian in action at Clementine Natural Health [4] in Vancouver, BC
Planning your clinic photoshoot
Before you start snapping, think about the style of clinic photography you want, I’d recommend creating a mood board. You can look at other clinics for photo ideas or pull inspiration from non-healthcare-related spaces, like restaurants or hotels. I use a program called Milanote to create my mood boards, which is for industry professionals, but you can just as easily do this on Pinterest or Instagram.
When you pull images, make sure to note what you like about them. From there, you can develop a shot list. Interior shots or exterior? Candid photos of staff, or detail work of the service you provide? Those details can help shape your own branded photography. Knowing exactly the clinic photos you want will help you save time on shoot day.
Pro Tip ⭐️ If your clinic photography includes staff photos, it’s a good idea to get your photo subjects to sign a model release form before you start snapping away. The release form is a contract where an identifiable person in a photo formally agrees to have images of them used for advertising purposes.
How to stage your clinic for photos
The first thing I do when I walk into a space is clear everything off the counters. I understand that these are working spaces in your day-to-day life, but for clinic marketing photos, simplicity is best. If you’ve removed a lot of clutter but your background still feels distracting, you can play around with your camera settings. Using portrait mode on an iPhone, for example, will blur out the background and get a cleaner look. Turning down the F-stop number on a DSLR camera will have the same effect.
Photography lighting tips
Window light is a photographer’s best friend — it offers soft, diffused lighting from a single source. Overhead lighting, on the other hand, can cast unflattering shadows under the eyes, nose, and chin. It’s also important to note that each light source has its own color temperature, so mixing different types of light, such as overhead and window lighting, can create a blend of colors that could make your clinic photography look unbalanced and inconsistent.
With that in mind, your best bet is to plan your shoots for the middle of the day, turn off the overhead lights, and make use of the natural light streaming in from the windows. However, if natural light isn’t an option, you can invest in a tube or ring light, both of which are inexpensive alternatives to overhead lighting. Another method is bouncing light: use a silver or white reflector [5] to get rid of any shadows that overhead lights might create. These are usually available online for about $40, but even a white poster board will soften shadows and help give your clinic photos a polished, professional look.
What colors work best for a photoshoot?
When thinking about what to wear on shoot day, I recommend people stick to muted colors and patterns. Instead of bright red, consider burgundy. Instead of bright orange, try an earthy terracotta tone.
When colors are very strong, your eye will gravitate towards it. That’s not necessarily what you want if you’re trying to highlight the space or the work you’re doing through your branded photography.

Camera position: how to take professional-looking photos
The trick to architectural photography is to capture straight vertical lines. If you’re photographing your clinic, or taking a wider shot, make sure you’re not tilting the camera up or down, but keeping it level. A tripod is a great way to do this!
However, if you’re shooting people, the opposite is true — shoot from above and tilt down slightly to get the body proportions accurate on camera. Also, it’s generally more flattering if you shoot your subject from further back and zoom in a bit. On an iPhone, this can be the 2x zoom feature.
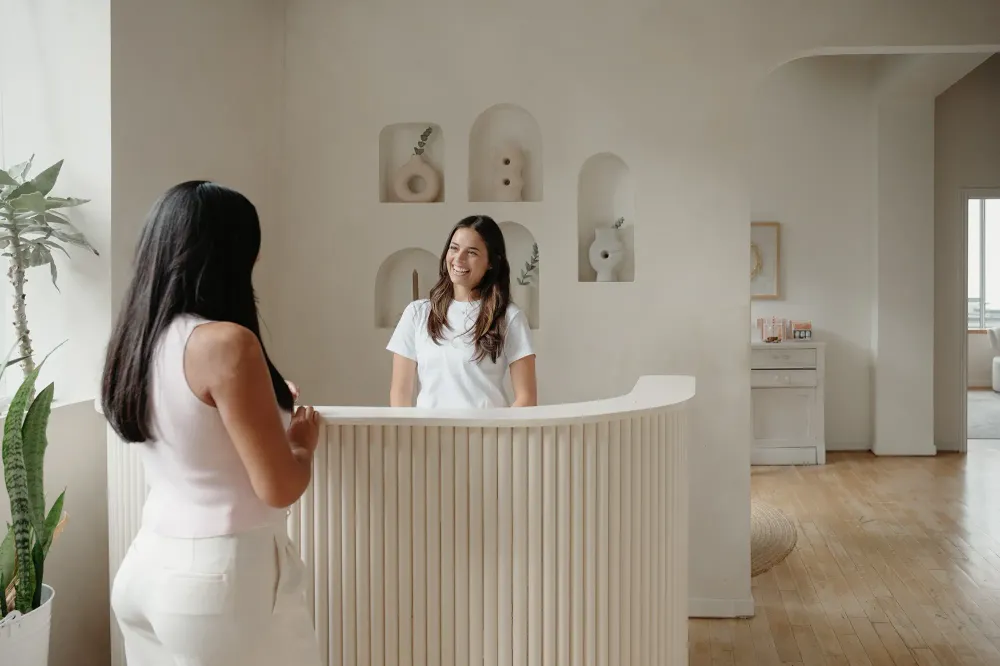
, and 2x zoom (right)")
Shot on an iPhone at 1x zoom (left), and 2x zoom (right)
What photo ideas should I include in my clinic’s photoshoot?
Instead of trying to fit the entire clinic into one frame, consider focusing on the smaller, charming details of your clinic. These could be little corners that tell a story — a well-stocked bookshelf, a cozy reading nook, or even a product display that highlights the quality of care you provide.
Another fun technique would be to look for natural framing: shooting through doors or windows. As you start to get more comfortable behind the camera, you can begin researching more compositional techniques, like the rule of thirds [6].
How to look natural in photos: an action shot!
Cameras can make people feel awkward. Avoid the urge to sit perfectly still. Moving, talking, doing something in the shot appears far more natural than staying in one pose. When I’m on a shoot, I’ll often talk to people or get them to talk to each other while I’m photographing them. That way, I’ll get more natural expressions.
Remember, photography is about experimenting and finding what works best for your clinic. Don’t be afraid to try different settings and techniques. With practice, you’ll be capturing clinic photos that truly showcase the personality of your practice and the quality of your work. Happy shooting!
References and resources
- Behaviour & Information Technology Journal – Study on visual first impressions (2011). Read the study →
- University of Missouri – Eye-tracking research on website judgments (2011). See findings →
- Ian Harland – Award-winning Vancouver photographer and educator, sharing practical clinic photography tips in this article. More from Ian →
- Clementine Natural Health, Vancouver, BC – Clinic setting for Ian’s photoshoot. Visit their website →
- Amazon – Example photography reflectors for photoshoots. View options →
- Adobe – Rule of thirds photography guide. Learn more →
This article was originally published in volume 3 of Front Desk magazine and has been modified and updated.